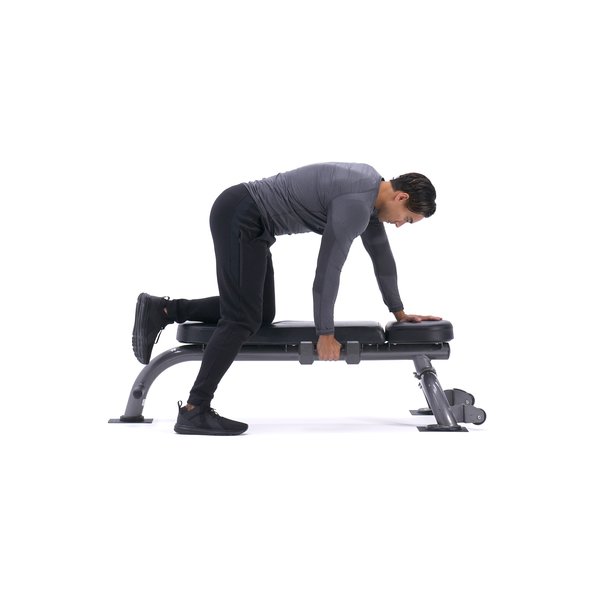
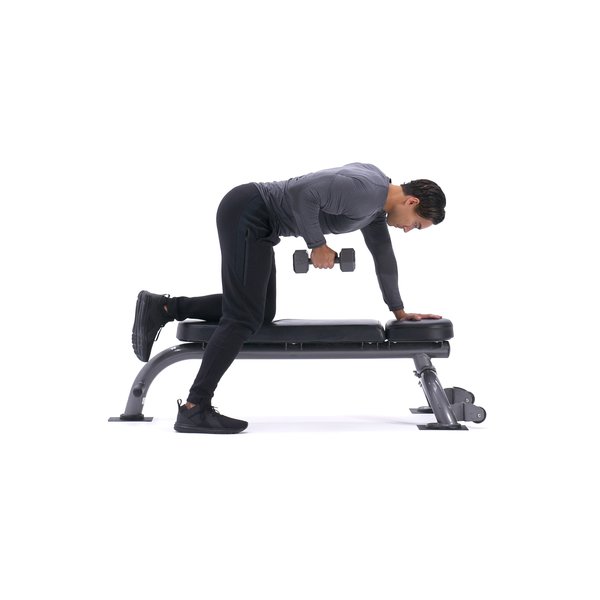
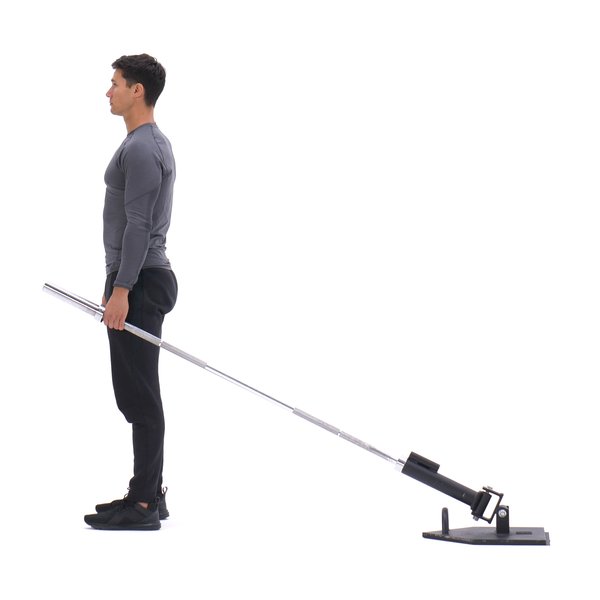
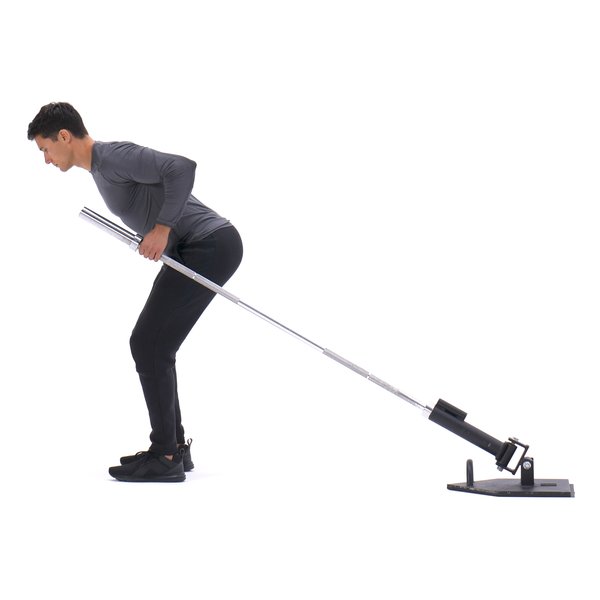
Single-arm cable seated row Images


Single-arm cable seated row Instructions
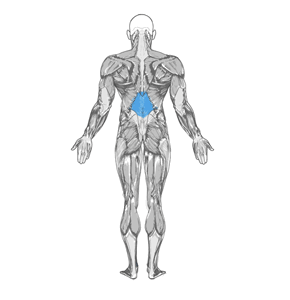
- To get into the starting position, first sit down on the machine and place your feet on the front platform or crossbar provided making sure that your knees are slightly bent and not locked.
- Lean over as you keep the natural alignment of your back and grab the single handle attachment with your left arm using a palms-down grip.
- With your arm extended pull back until your torso is at a 90-degree angle from your legs. Your back should be slightly arched and your chest should be sticking out. You should be feeling a nice stretch on your lat as you hold the bar in front of you. The right arm can be kept by the waist. This is the starting position of the exercise.
- Keeping the torso stationary, pull the handles back towards your torso while keeping the arms close to it as you rotate the wrist, so that by the time your hand is by your abdominals it is in a neutral position (palms facing the torso). Breathe out as you perform that movement. At that point you should be squeezing your back muscles hard.
- Hold that contraction for a second and slowly go back to the original position while breathing in. Tip: Remember to rotate the wrist as you go back to the starting position so that the palms are facing down again.
- Repeat for the recommended amount of repetitions and then perform the same movement with the right hand.
Variations: You can perform this movement with a high pulley as well and standing up. You can also perform it doing a full rotation of the wrist. In other words, at the starting position you will have the palms of the hands facing down and at the end of the movement they will be facing up. Great movement to perform for a variety of purposes.


